There will be some changes here this month from previous months, but my basic tenets are:
- I will make everything from scratch (within reason). At this time, it is not currently within my means to milk my own cow, press my own oil, etc. However, if I can take a step back in the process of preparing an item, I will do so. For example, orange juice comes from oranges, and I can reasonable juice some oranges.
- No canned or frozen fruits/veggies/beans/etc. I chose August to do this, as fresh produce is plentiful in Wisconsin.
- I will allow myself beer, wine, coffee, and tea. Someday, I will attempt making these things.
- I will allow myself to "cheat" for 3 meals during the month. Many celebrations and social events will be happening this month, and it would be a shame to exclude
New Kitchen Gadgets = New DIY Possibilites
Since the last time I've done a DIY challenge, I have acquired some kitchen gadgets that will open the realm of eating possibilities:
Ice Cream Maker
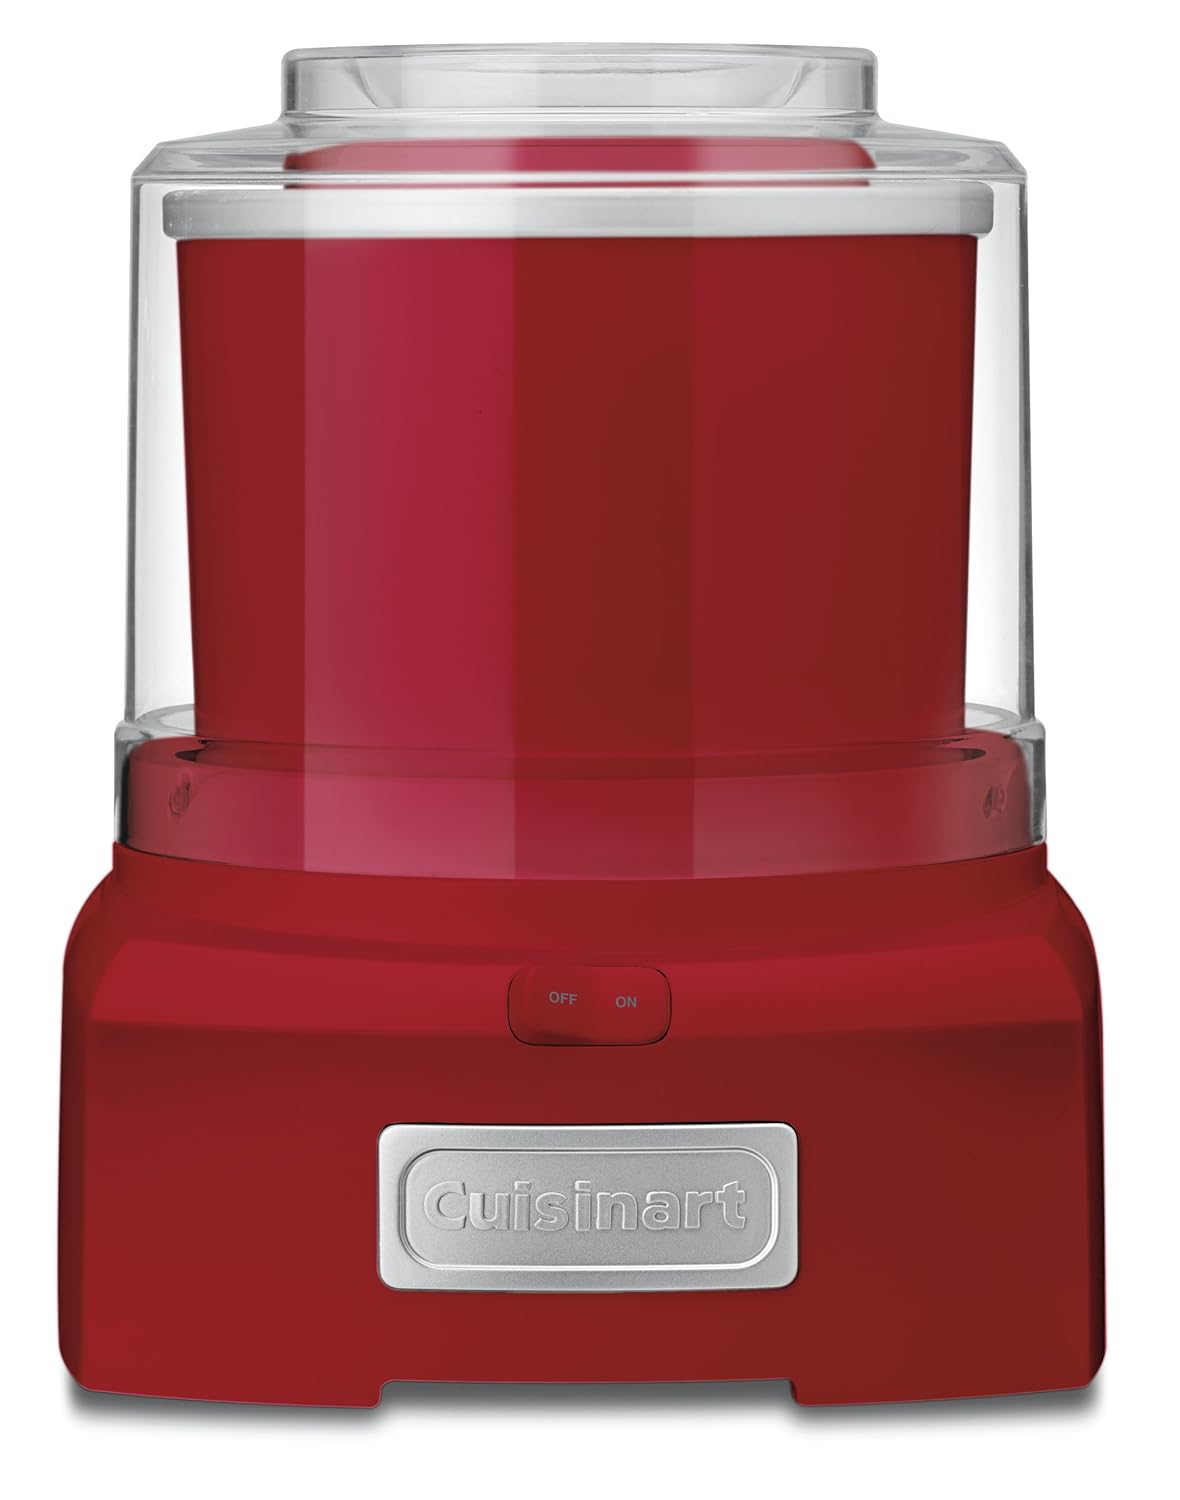
Last August, I received this ice cream maker as a gift from my boss before I went back to school. It's hardly new, as Michael and I have used it 2-3 times a month to make various ice cream concoctions. We've pretty much set aside room in our freezer so that the bowl is always chilled and ready to go. There's not to much further "homemade" you can go with this, but we'll for sure put it to use this month!
Meat Grinder/Mincer/Pasta Extruder
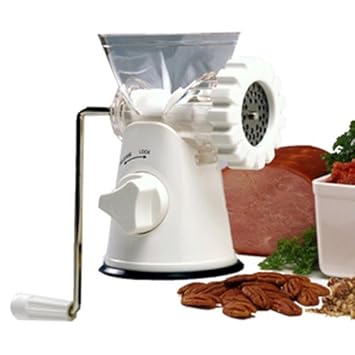 I also received this as a gift from redditgifts' Secret Santa exchange. My randomly-matched gifter had seen from my twitter feed that I love to cook, so he got me cooking and drinking gifts, this included! I've extruded some rigatoni with this machine a couple of times, but I'm looking forward to attempting some sausage and ground met. You can see the full review of my gift here.
Flour Mill

I recently purchased this flour mill using birthday money. I've made a few batches of flour before this month, and it's very simple! I can get wheat berries from my local co-op for $1.19/lb, and I've milled small batches of flour and keep them in the fridge. This month, I'll also be able to make some corn meal, bean flours, and nut flours.
 Dehydrator
I also purchased this dehydrator with birthday money. The prospect of homemade jerky, tomato powder for tomato paste making, fruit leather, dried herbs, are exciting!!
Smoker

My office mate rescued this smoker from a neighbor, and generously offered it to me. She is a fellow food-lover, though much more experienced than me, and likes to hear of my trials and tribulations. This smoker will allow for some BACON, as well as other smoked delights, such as smoked salmon and chipotles!
Kitchenaid Mixer

Michael and I purchased this stand mixer together as a mutual Christmas present. Previous roommates have had one, and it was tough to get along without one once I had seen the light. It's amazing to have this workhorse mix and knead, so I can do better things (such as clean up my kitchen messes).


 This is what you do when you get 9 ears of corn from your CSA and need something to do with them. I must say, though, that the kernels of corn were so tender, you could just bite them off the ear without cooking them first.


 essentially reducing 5-6 lbs of tomatoes down into about 2 cups of paste. Of course this was the morning that my refrigerator broke for the second time, and only about 1/3 cup made it safely into the freezer. The rest had a one-way ticket to moldsville. Despite the lengthly process, thepaste was actually quite delicious. However,
 Michael had asked me if there was something I had made this month that I wouldn't make again, and the answer is definitely now tomato paste. It was a lot of time in the making, and wasn't very cost efficient. Maybe I'll make it again some day when I have a garden overflowing with tomatoes and there's nothing else I can think to do with them. If you're interested in taking this journey into tomato paste,


 What you need:
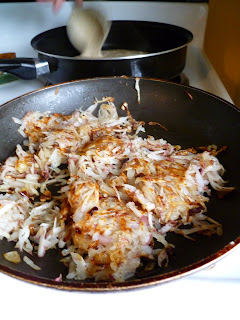


